Ever tried sending a photo from your iPhone only to be met with the dreaded “file too large” message? It’s like your phone’s way of saying, “Sorry, but your picture’s got a bigger ego than you.” Fear not! Changing the picture size on your iPhone is easier than finding a cat video to binge-watch.
Understanding Picture Size
Picture size plays a crucial role when sharing photos from an iPhone. Resizing images helps avoid the frustrating “file too large” message and ensures seamless sharing.
Importance of Picture Size
Picture size directly affects storage capacity and sharing capabilities. Larger images consume more space on an iPhone, which can quickly fill available storage. Additionally, smaller files transmit faster and require less bandwidth. Maintaining an optimal picture size allows users to balance quality and convenience. For instance, resizing images can facilitate easy uploads to social media or sharing via messaging apps without compromising visual integrity.
Common Picture Sizes on iPhone
Common picture sizes on iPhone vary based on the chosen settings. The standard resolution for photos taken is typically 4032 x 3024 pixels for newer models. When users select the “Optimize Storage” option, the device may automatically adjust photo sizes to save space. Other typical sizes include 1920 x 1080 pixels for HD images and 640 x 480 pixels for lower-quality visuals. Understanding these sizes aids in making informed decisions about resizing when necessary.
Methods to Change Picture Size on iPhone
Resizing images on an iPhone can be done using various methods. Here are two effective approaches.
Using the Photos App
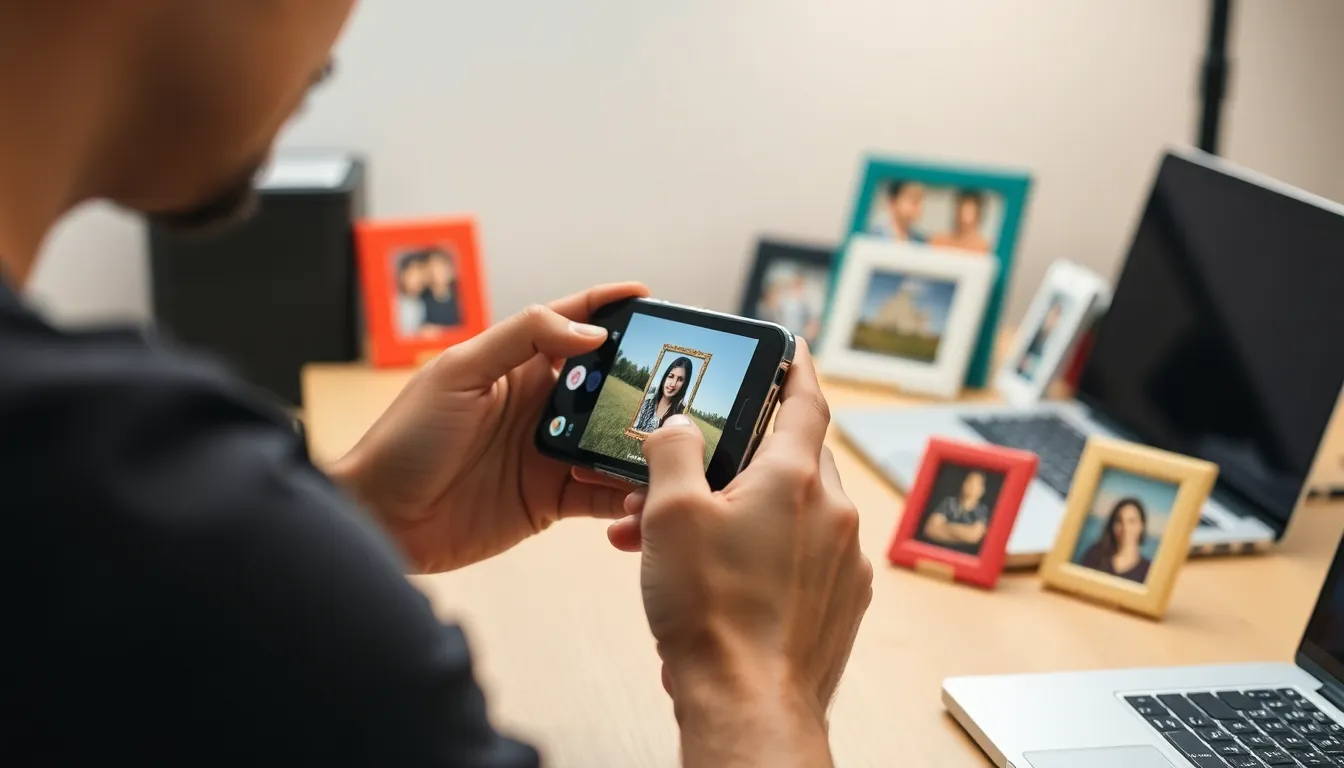
The Photos app provides built-in options for resizing images. Open the image in the app, then tap “Edit.” Users can crop the image to change its dimensions. After selecting the crop option, drag the corners to adjust. Saving changes finalizes the new size. This method easily reduces image size while maintaining clarity.
Utilizing Third-Party Apps
Third-party apps offer additional tools for resizing pictures. Apps like Image Size and Photo Compress are popular choices. Users can download these from the App Store. Once installed, select the photo to resize. Input desired dimensions or choose from preset options. Finally, save the altered image back to the Camera Roll. This approach allows for greater flexibility in managing photo sizes.
Step-by-Step Guide
Resizing pictures on an iPhone can enhance the sharing experience. This section outlines two effective methods.
Resizing in the Photos App
The built-in Photos app provides a straightforward way to resize images. First, open the image needing adjustment. To edit, tap “Edit” in the upper right corner. Next, use the cropping tool to change dimensions, which maintains clarity and quality. Users can move the corners of the crop box to define the desired size. After making adjustments, click “Done” to save changes. This method allows for quick resizing without additional apps or downloads.
Tips for Using Third-Party Apps
Third-party apps can offer additional features for resizing images. Applications like Image Size and Photo Compress are popular choices. Download the desired app from the App Store. Once installed, select the image to resize. Users can input custom dimensions or select from preset sizes. After adjustments, saving the image back to the Camera Roll is often straightforward. These apps give users more control over their photo sizes, making sharing easier and more efficient.
Best Practices for Picture Resizing
Resizing pictures effectively ensures optimal quality and seamless sharing. Following specific practices can greatly improve the experience.
Maintaining Image Quality
Maintaining image quality during resizing is crucial. Start by keeping the original file intact, allowing for future adjustments as needed. Use lossless formats such as PNG or high-quality JPEG to prevent degradation. Applying moderate compression techniques often results in smaller files without noticeable quality loss. Preview the resized image before saving, ensuring clarity and detail remain intact. Enhancements can be achieved by using professional apps designed for resizing, which preserve colors and sharpness more effectively than basic methods.
Choosing the Right Dimensions
Choosing the right dimensions plays a significant role in effective resizing. Assess the intended use of the image first. For social media, an optimal size typically ranges between 1200 x 630 pixels for Facebook posts and 1080 x 1080 pixels for Instagram. Consider the device displays as well; for messaging, smaller dimensions like 640 x 480 pixels work well. When creating images for printing, aim for at least 300 DPI for high-quality prints. Utilizing presets available in various apps simplifies this process, ensuring the chosen dimensions match the specific platform or need perfectly.
Resizing pictures on an iPhone doesn’t have to be a daunting task. With the right methods at hand users can easily manage their photo sizes for seamless sharing. Whether using the built-in Photos app or opting for third-party applications users gain control over their images without sacrificing quality.
By understanding the common picture sizes and best practices for resizing users can enhance their experience while avoiding frustrating file size issues. Embracing these techniques not only simplifies sharing but also helps maintain the integrity of cherished memories. With a little effort anyone can ensure their photos are perfectly sized for any purpose.